What Is the Shopify Facebook Pixel and Why Does It Matter?
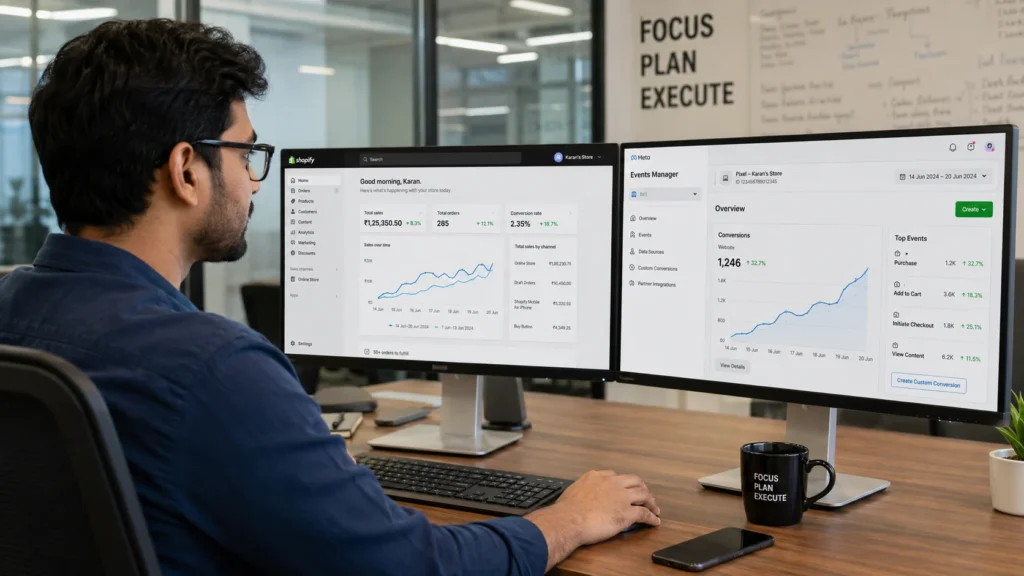
The Shopify Facebook Pixel, officially renamed the Meta Pixel, is a small piece of tracking code that records what visitors do on your store after clicking a Facebook or Instagram ad. It reports page views, add-to-carts, checkouts, and purchases back to Meta so the ad platform can learn what actually drives revenue.
Without pixel data, Meta cannot optimise your campaigns. It sees clicks, not outcomes. Installing Meta Pixel on your Shopify store isn’t optional if you run paid ads on Facebook or Instagram, because without it, Meta’s algorithm has no feedback loop and can’t tell which clicks led to purchases, which audiences converted, or which ad creatives drove revenue. According to StoreCensus’s 2026 benchmarks, Meta Pixel has a 70% adoption rate among Shopify stores, while 69.6% rely on Google Analytics 4 for the same purpose, which shows how central this tracking layer has become to ecommerce marketing.
Facebook advertising is not a small line item either. Facebook’s advertising revenue reached close to 165 billion dollars in 2024, and that revenue comes almost entirely from advertisers relying on pixel data to justify and refine their spend.
What Is the Difference Between Facebook Pixel and Conversions API?
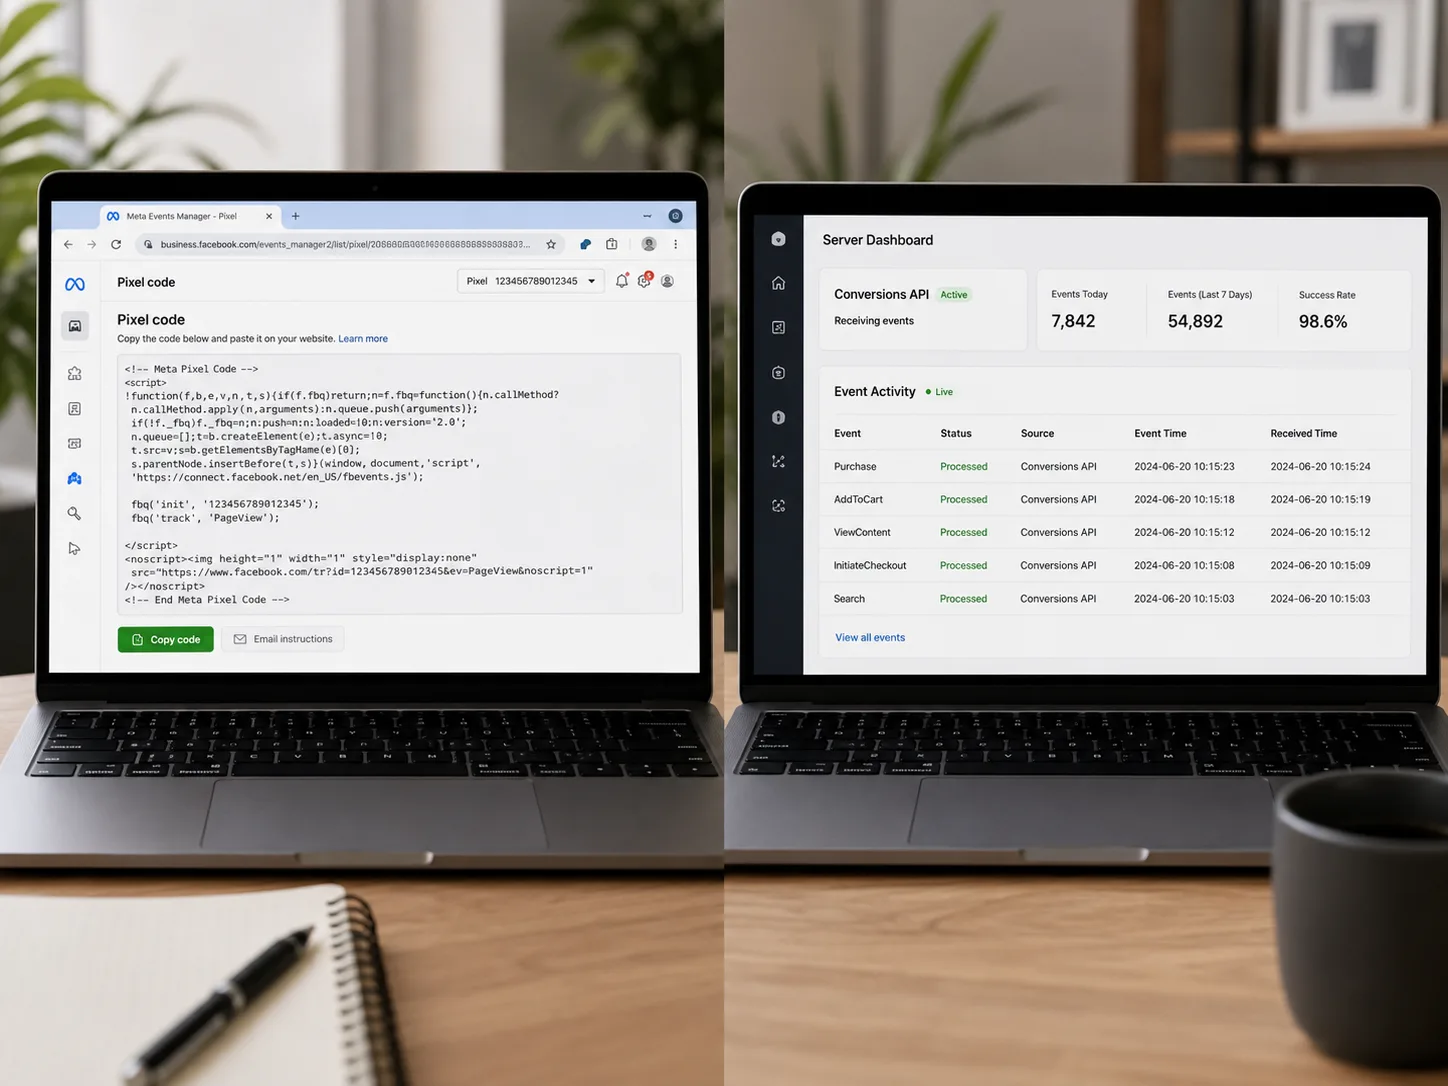
The Facebook Pixel tracks visitor behaviour from the browser, while the Conversions API (CAPI) sends the same conversion data directly from Shopify’s servers. Running both together, with matching event IDs, gives Meta the most complete and accurate picture of your store’s performance.
The Meta Pixel often underreports data because of its limitations, and CAPI improves accuracy and Event Match Quality . This matters more than most store owners realise. Browser-based tracking alone misses 20 to 35 percent of conversion events thanks to ad blockers, Intelligent Tracking Prevention (ITP), and shortened cookie lifespans. Server-side CAPI closes that gap by reporting events that never touch the visitor’s browser at all.
| Factor | Facebook Pixel (Browser) | Conversions API (Server) |
|---|---|---|
| How it tracks | JavaScript in the browser | Server-to-server from Shopify |
| Blocked by ad blockers | Yes | No |
| Affected by iOS privacy settings | Yes | No |
| Setup difficulty | Easy, no code needed | Easy via Shopify’s native integration |
| Recommended for | All stores | All stores running paid Meta ads |
Stores that run both together see a real performance gap versus those relying on the Pixel alone. Enabling Conversions API (CAPI) in the channel settings brings server-side tracking that captures 15 to 25 percent more conversions than Pixel alone, and stores with clean Pixel data and CAPI enabled typically achieve 30 to 50 percent lower cost per acquisition than stores with tracking issues.
Ready to fix broken conversion tracking before you spend another rupee on ads? Contact RankMyShopify today on 9888923755, email us at info@rankmyshopify.com, or visit https://rankmyshopify.com/ for a free Shopify SEO and tracking consultation.
How Do I Add a Facebook Pixel to Shopify Step by Step?
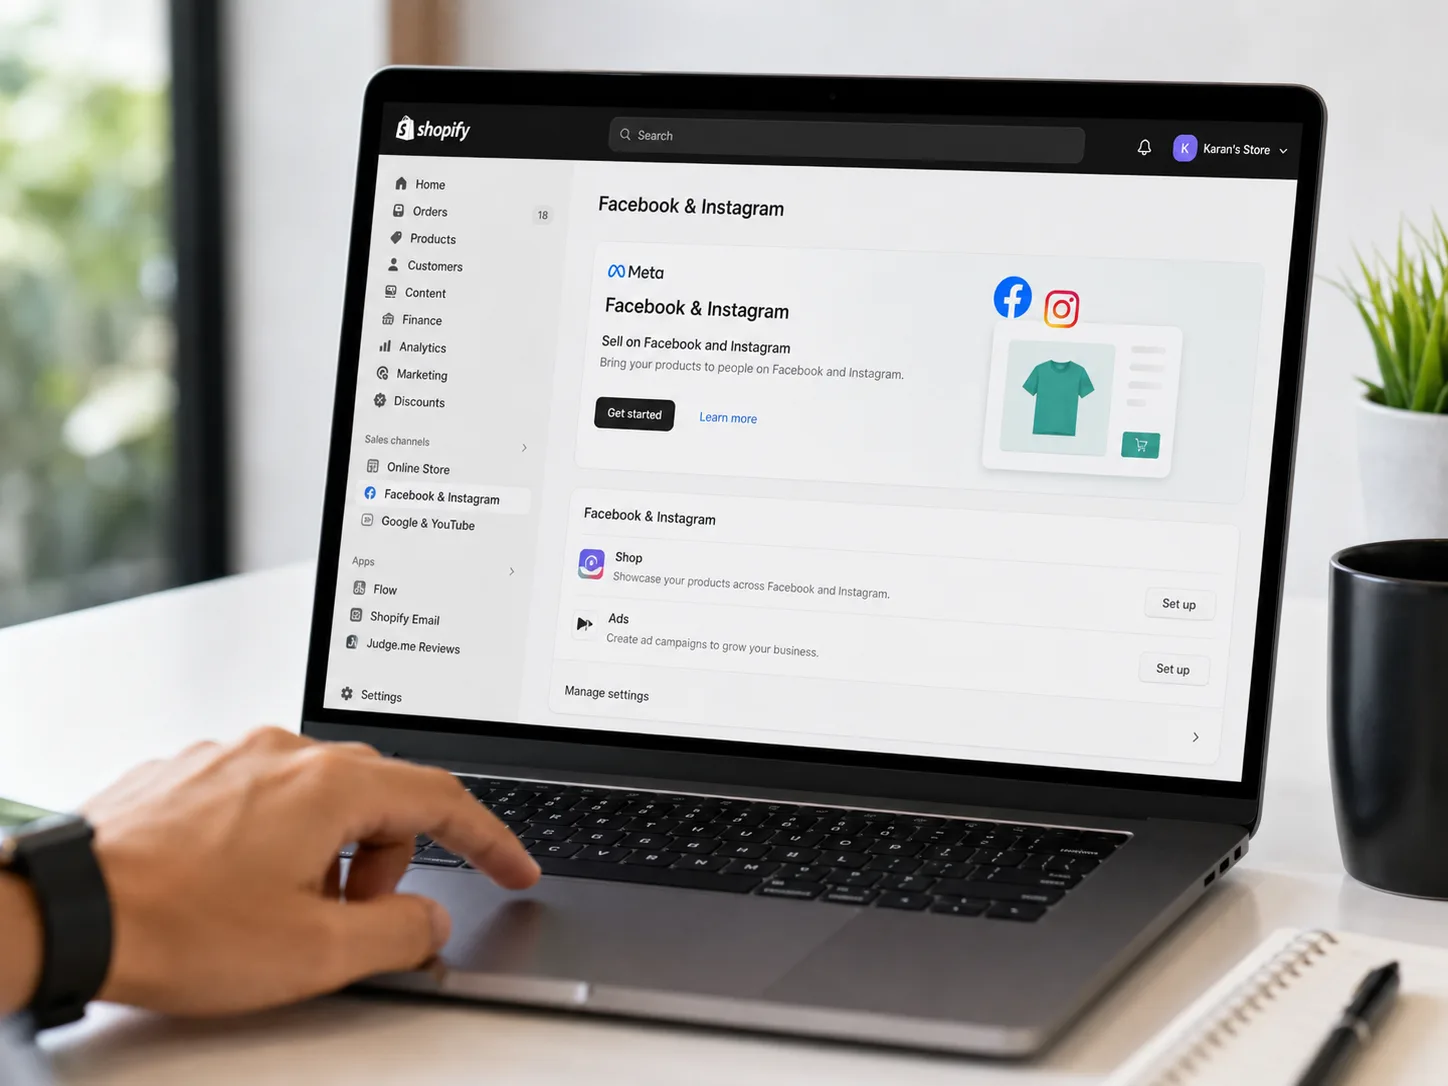
You add a Facebook Pixel to Shopify by creating the pixel in Meta Events Manager, then connecting it through Shopify’s built-in Facebook & Instagram sales channel rather than editing theme code directly.
Here is the correct process for 2026:
- Create your Meta Pixel. In Meta Business Suite, open Events Manager, click “Connect Data Sources,” select “Web,” then choose “Meta Pixel.” Name your Pixel (your store name works fine) and copy the Pixel ID, since you’ll need it for the Shopify integration</cite>
- Install the Facebook & Instagram sales channel. From your Shopify admin, go to Settings, then Apps and sales channels, and add Facebook & Instagram.
- Connect your Facebook account. Log in with the personal profile that has admin access to your Meta Business Manager, not a secondary or shared login.
- Select or create your Pixel inside the channel. If you already advertise from this store, connect your existing pixel rather than creating a duplicate one.
- Assign yourself full control. Inside Events Manager, go to Assign People and give your profile admin access to avoid permission errors later.
- Turn on data sharing and choose Maximum. In the Facebook & Instagram channel, open Settings, then Share data settings, and enable the Customer data-sharing toggle at the Maximum level. This activates CAPI alongside the browser pixel.
- Confirm and save. Shopify will handle deduplication automatically once both the Pixel and CAPI are connected through the native integration.
Using the Shopify partner integration ensures that your deduplication keys, the Event ID, are perfectly synced between the browser pixel and the server-side API, preventing Meta from counting the same purchase twice.This is the main reason our team at RankMyShopify always recommends the native channel over manually pasted code unless a store has a genuinely advanced use case.
For stores managing their broader technical setup at the same time, our Shopify SEO audit service checks tracking configuration alongside crawlability and indexing issues in a single pass.
Which Data-Sharing Level Should I Choose in Shopify?
Choose “Maximum” data sharing if you spend meaningfully on Facebook or Instagram ads, since it is the only setting that fully activates the Conversions API with Advanced Matching. Lower settings send less data and reduce Meta’s ability to match events to real users.
Shopify offers three data-sharing tiers when you connect a pixel:
- Standard: Sends only customer behaviour events from the browser. This is the weakest option for advertisers because it relies entirely on the Pixel and skips server-side matching.
- Enhanced: Adds some additional customer information alongside behaviour data, improving match quality over Standard.
- Maximum: Activates full Advanced Matching, sending hashed customer details like email and phone number alongside behaviour events through both the Pixel and CAPI.
Selecting Standard data-sharing by default is a common mistake, since Standard mode only fires browser-side events, which ad blockers and iOS privacy settings can block. If you’re spending over 500 dollars a month on Facebook ads, go with Maximum to enable Conversion API server-side tracking.
Higher-quality data sharing also improves your Event Match Quality (EMQ) score, which Meta uses to judge how well it can attribute conversions to real accounts. A score of 8 to 9, rated “Great,” is achievable with server-side tracking and complete customer data, while browser pixel data alone typically only reaches scores of 3 to 5.
Why Is My Shopify Facebook Pixel Not Tracking Conversions?
Your Shopify Facebook Pixel usually stops tracking conversions because of a status change, a duplicate pixel, or a deduplication failure between the browser Pixel and CAPI. Most fixes take under ten minutes once the cause is identified.
For example, a Shopify fashion store in India running ads on a 200 dollar daily budget noticed its cost per purchase had crept up over several weeks with no obvious cause. A quick audit found the pixel status had silently switched to “Optimized” after a Shopify platform update, suppressing a portion of its purchase events without any error message appearing in the admin. Resetting the status and reconnecting CAPI through the native channel brought reported conversions back in line with actual order volume within 48 hours.
| Problem | Likely Cause | Fix |
|---|---|---|
| Pixel shows “No Activity Yet” | New pixel, no events fired yet, or wrong Pixel ID connected | Browse your own store and check Meta Pixel Helper for a green status |
| Conversion counts look inflated | Duplicate pixel installs, or missing event_id deduplication | Remove old manual theme code and reconnect only through the native channel |
| Events silently suppressed | Shopify’s “Optimized” pixel setting, introduced January 2026 | <cite index=”4-1″>Check Settings, then Customer events, and confirm your pixel status is set to your preferred configuration</cite> |
| Red error dots in custom pixel editor | Leftover script tags pasted into Shopify’s custom pixel field | <cite index=”12-1″>Remove the opening and closing script tags before saving, since Shopify’s custom pixel editor already uses JavaScript</cite> |
| Old pixel code still firing | Manual theme.liquid installation left in place after switching to the native channel | Open Online Store, then Themes, edit code, and delete the pixel snippet between the head tags |
As of January 13, 2026, Shopify switched its default pixel setting to “Optimized,” which can pause or suppress tracking events without your knowledge. This single change is responsible for a large share of the sudden tracking drop-offs our team sees when auditing Shopify stores for clients across the USA, UK, and Australia.
How Do I Verify My Meta Pixel Is Working Correctly?
You verify your Meta Pixel by installing the Meta Pixel Helper Chrome extension, browsing your own store, and checking that PageView, ViewContent, AddToCart, and Purchase events fire with a green status in real time.
Follow this quick verification routine:
- Install the Meta Pixel Helper extension and disable any ad blockers on your own browser.
- Open your storefront and check for the PageView event on the homepage.
- Open a product page and confirm the ViewContent event fires.
- Add a product to cart and confirm AddToCart, then proceed to checkout and confirm InitiateCheckout.
- Click the extension icon to verify the Pixel ID matches your Meta Events Manager, since a green checkmark means the event is received while a yellow or red icon signals an implementation error.
- In Meta Events Manager, open the Test Events tab, enter your store URL, and confirm events appear from both “Browser” and “Server” connection methods, which confirms CAPI is active alongside the Pixel.
Once both sources are firing correctly, check your Event Match Quality score under the Overview tab. A score above 6.0 out of 10 is good, and above 8.0 is excellent. Higher match quality translates directly into more accurate attribution and better campaign optimisation from Meta’s side.
Do I Need a Developer to Set Up CAPI on Shopify?
No. Shopify’s native Facebook & Instagram sales channel includes built-in CAPI support, so most stores can enable server-side tracking without writing any code or hiring a developer.
Shopify handles the technical implementation, generating access tokens, configuring event deduplication, and sending server events, with no manual API setup required. A developer or agency becomes useful when you need custom event tracking beyond the standard set, multiple pixels for different product categories, or a dedicated server-side tagging setup outside Shopify’s native tools. For most single-store merchants, the built-in integration through Settings and Customer events is the fastest and most reliable route, and it is the same method our team uses as standard practice when onboarding Shopify clients at RankMyShopify.
Ready to scale your Shopify store?
Book a free 30-minute growth call with our Shopify specialists. We’ll audit your store and share an actionable roadmap — no obligations.