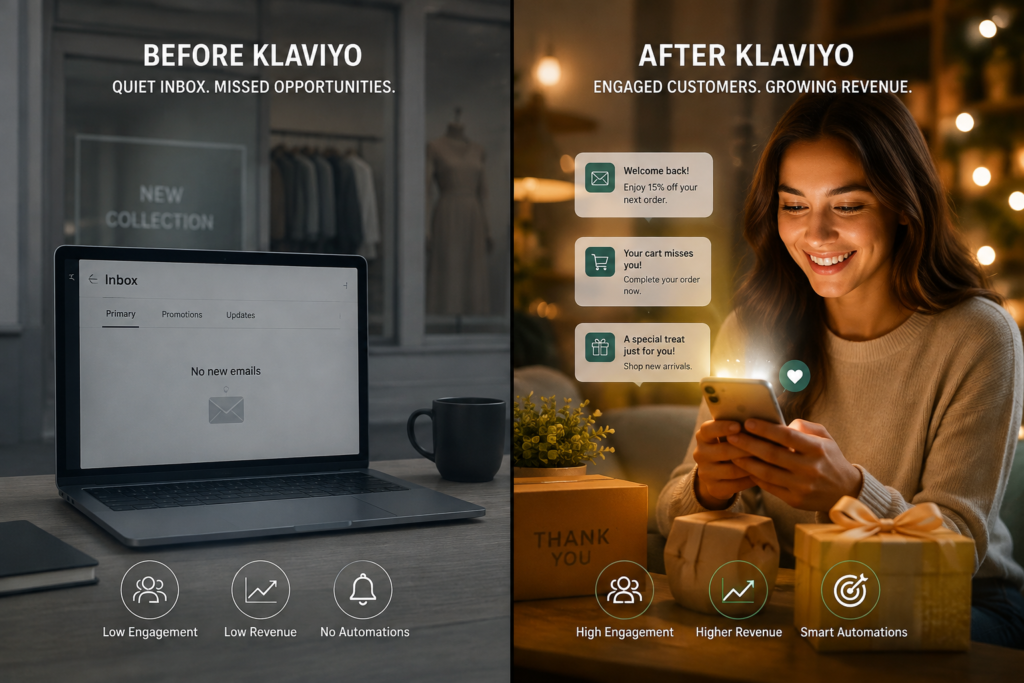
What Is Klaviyo and Why Shopify Stores Use It
Klaviyo is an ecommerce-focused email and SMS marketing platform used by more than 176,000 brands worldwide. Unlike generic email tools, it was built specifically around store behaviour: what someone viewed, added to cart, purchased, or ignored.
For Shopify merchants, the appeal is straightforward. Klaviyo reads directly from your store’s customer, order and product data, so segments and automated flows can react to real purchase behaviour instead of guesswork. It is one of the most installed apps on the Shopify App Store, and stores that configure it properly typically generate 20 to 30% of total revenue through email and SMS combined.
How Do I Connect Klaviyo to My Shopify Store?
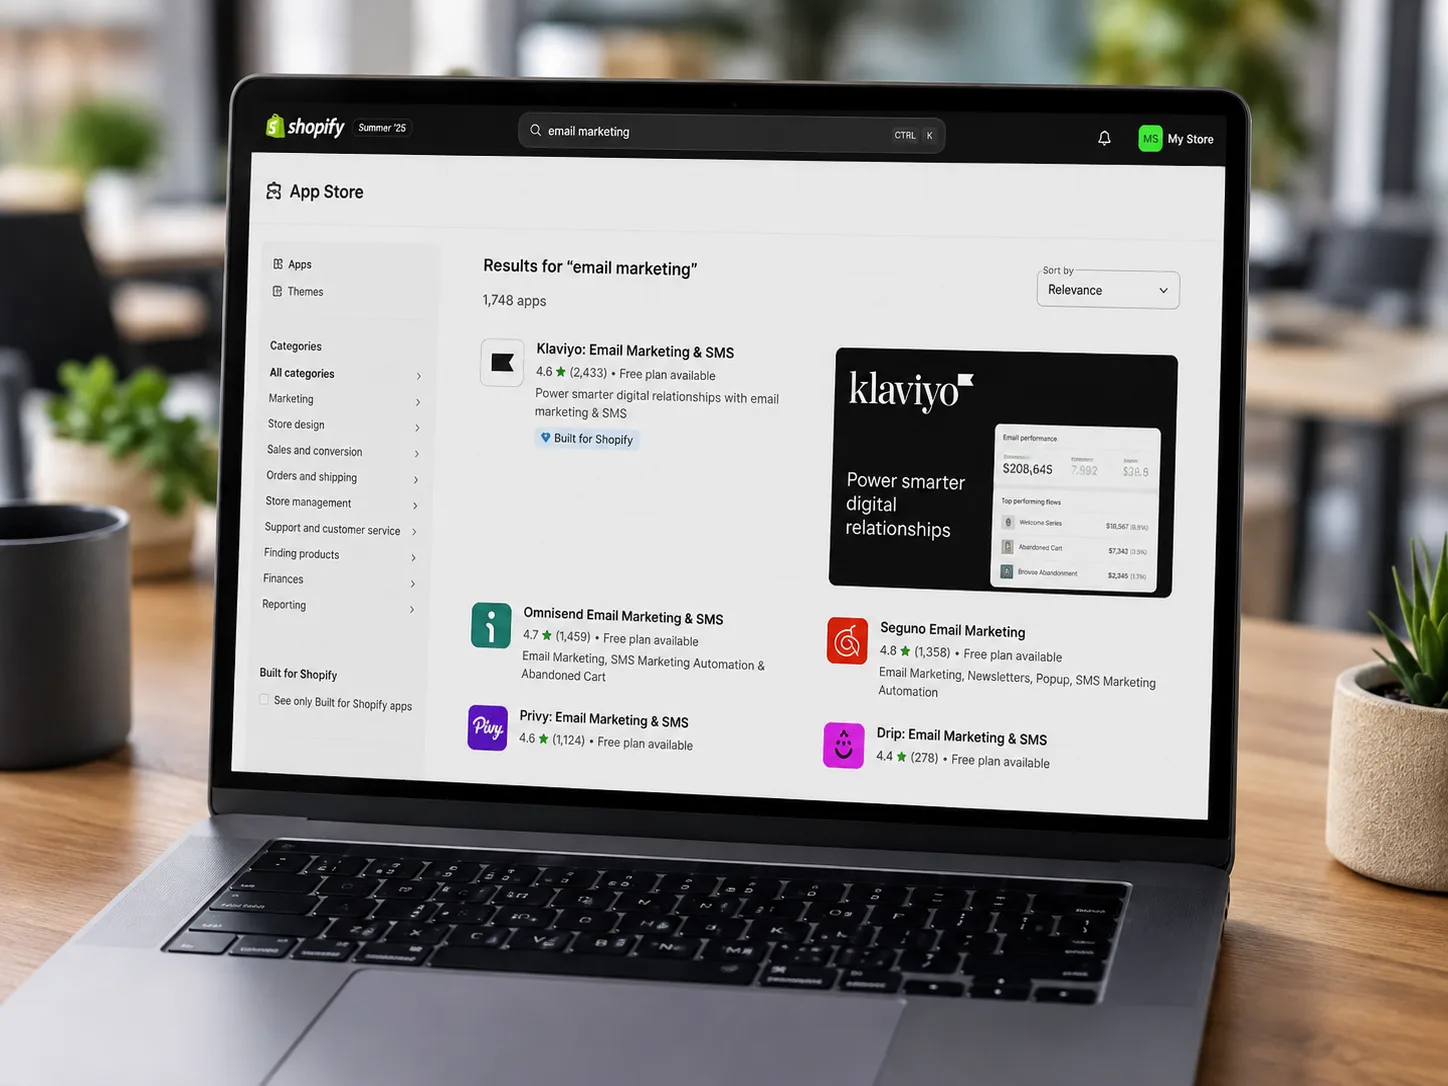
You connect Klaviyo to Shopify through a direct OAuth integration available in the Shopify App Store, which takes a few minutes to authorise but longer to configure properly.
Here is the exact sequence to follow.
Step 1: Disconnect Your Existing Email Tool First
If you are currently using Mailchimp, Omnisend, Shopify Email or another provider, disconnect it from your Shopify admin before connecting Klaviyo. Running two email service providers against the same store at once risks duplicate opt-ins, conflicting tracking snippets, and confused subscriber records. Log into your Shopify admin, locate your current ESP under Apps, and remove it before proceeding.
Step 2: Create or Log Into Your Klaviyo Account
Go to klaviyo.com and sign up using the email address associated with your Shopify store. During onboarding, select Shopify as your ecommerce platform. Klaviyo’s free tier supports up to 250 contacts and 500 email sends per month, which is enough to test the full setup before committing to a paid plan.
Step 3: Install the Klaviyo App from Shopify
In your Shopify admin, go to Apps, search for “Klaviyo: Email Marketing & SMS,” and click Add app. Klaviyo will request permissions to access your customer, order, product and marketing data. These permissions are required for automation and segmentation to work, so approve them.
Step 4: Authorise the OAuth Connection
After installation, Klaviyo prompts you to authorise the connection. Click Connect to Shopify, log in if prompted, and confirm the permissions on the Shopify OAuth screen. This establishes a two-way data sync between the two platforms.
Step 5: Select Your Data Sync Settings
Choose a list name for your synced Shopify subscribers, and repeat for SMS subscribers if you use Klaviyo for text messaging. Scroll down and select which data types to sync (customers, orders, products, and historical data). Klaviyo will begin pulling in your full customer and order history, not just new activity going forward.
Step 6: Confirm the Integration in Klaviyo
Return to Klaviyo and click Integrate to confirm. Klaviyo displays a success message once the connection is live. At this point, your store data is syncing automatically.
How Do I Know If Klaviyo Tracking Is Working?
You confirm Klaviyo tracking is working by browsing your own store in an incognito window and checking that behavioural events appear in your Klaviyo Analytics tab within a few minutes.
Klaviyo automatically installs an on-site JavaScript tracking snippet on your Shopify storefront the moment you connect the app, no manual code edits required. To verify it:
- Open your live store in an incognito or private browser window
- Browse a few product pages and add an item to your cart
- Log into Klaviyo and go to Analytics
- Confirm that “Active on Site” and “Viewed Product” events appear against a test profile
If these events don’t appear within a few minutes, check that no other tracking or ESP snippet is conflicting, and that the Klaviyo app is still listed as installed under Shopify Apps.
How Do I Set Up Domain Authentication in Klaviyo?
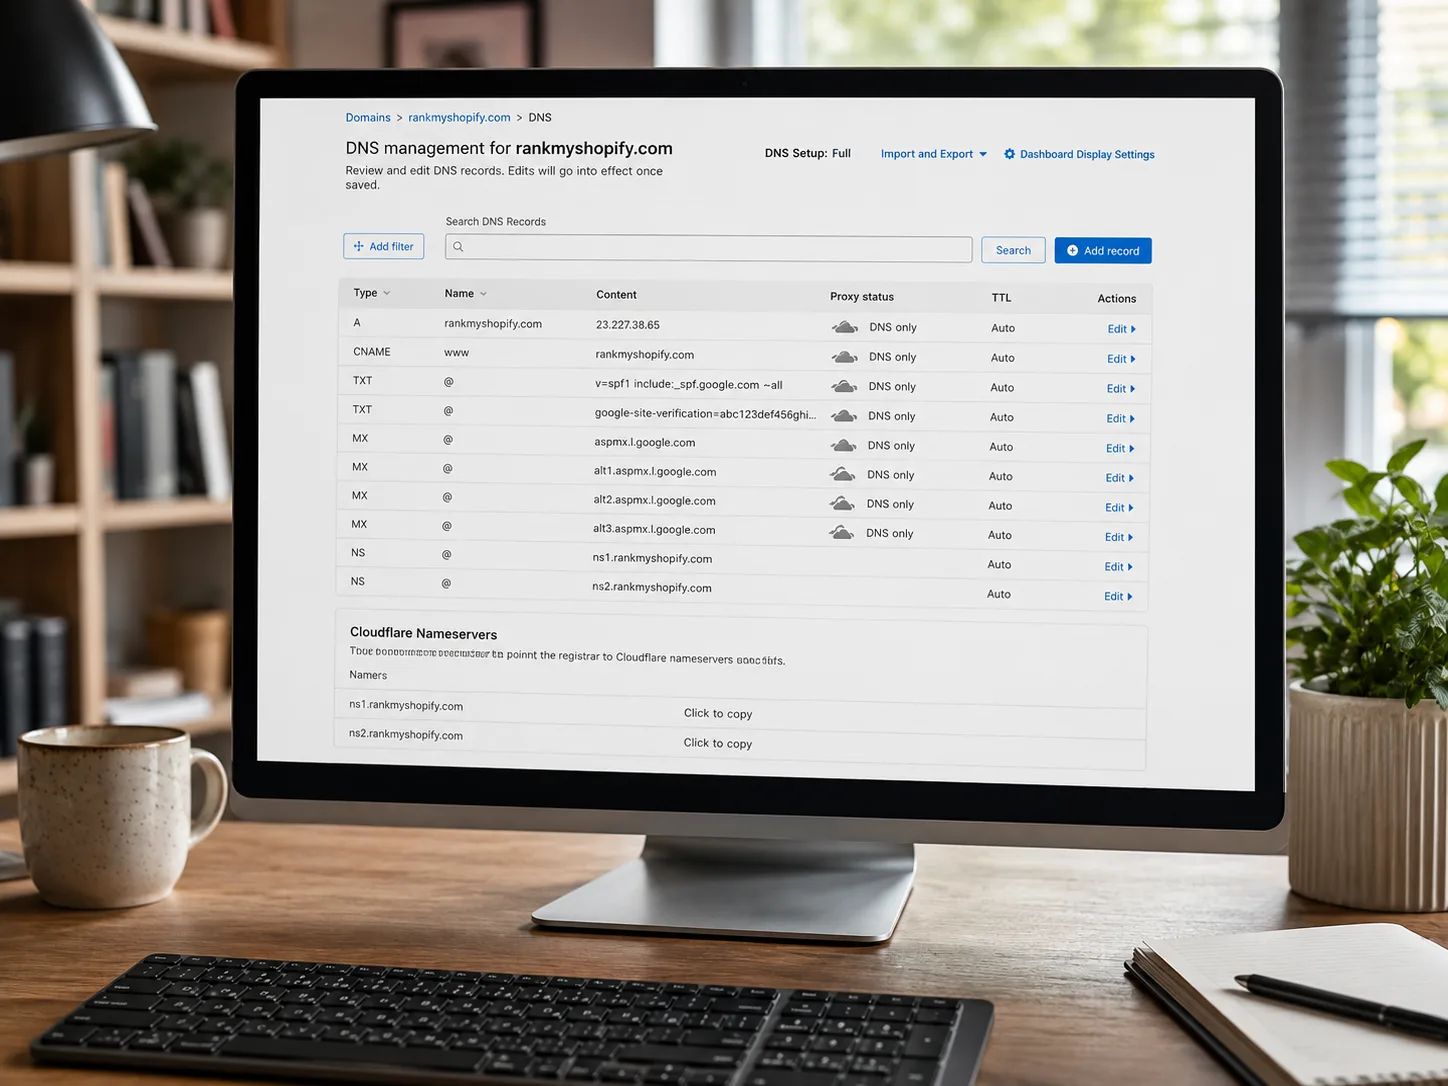
You set up domain authentication in Klaviyo by adding the DKIM and SPF DNS records Klaviyo provides under Settings, which authenticate your emails and directly affect inbox placement.
For reliable deliverability, go to Settings > Domains in Klaviyo and add your store’s sending domain. Klaviyo generates specific DNS records you then add through your domain registrar or hosting provider. Without this authentication step, a significant share of your emails will land in spam or promotions folders regardless of how good the content is. Store owners often skip this step because it feels technical, but it is one of the highest-impact five minutes in the entire setup.
What Flows Should I Set Up First on Shopify?
The first flows to set up on a new Klaviyo and Shopify integration are Welcome, Abandoned Cart, and Post-Purchase, because these three cover the highest-intent moments in the customer journey.
| Flow | Trigger | Typical Timing |
|---|---|---|
| Welcome Series | New signup or first opt-in | Immediate, then day 2, then day 5 |
| Abandoned Cart | Cart started, no purchase | 1 hour, 24 hours, 72 hours |
| Post-Purchase / Win-Back | Order placed or lapsed customer | Immediate confirmation, then re-engagement at 30 to 60 days |
Flows consistently outperform one-off campaigns. Klaviyo’s own 2026 data shows flows generating a 5.58% click rate against 1.69% for regular campaigns, roughly 13 times the placed-order rate and around 18 times the revenue per recipient. In other words, flows are not optional extras. They are the core of what makes Klaviyo Shopify integration worth the setup time.
For example, if you run a Shopify fashion store in India with a growing subscriber list and no automated flows in place, a full Shopify audit from RankMyShopify would typically uncover missed abandoned cart revenue, a Welcome series that never got past template stage, and tracking gaps that quietly cap how well Klaviyo can segment your audience. These are common, fixable issues, not exceptions.
Ready to scale your Shopify store?
Book a free 30-minute growth call with our Shopify specialists. We’ll audit your store and share an actionable roadmap — no obligations.